⏱ 1 min read
The Short Version
Drilling into the exhaust duct with an M6 probe offers the most reliable thermocouple readings, despite the risks, while MAX31855 boards outperform cheaper alternatives by resisting interference and delivering clearer data.
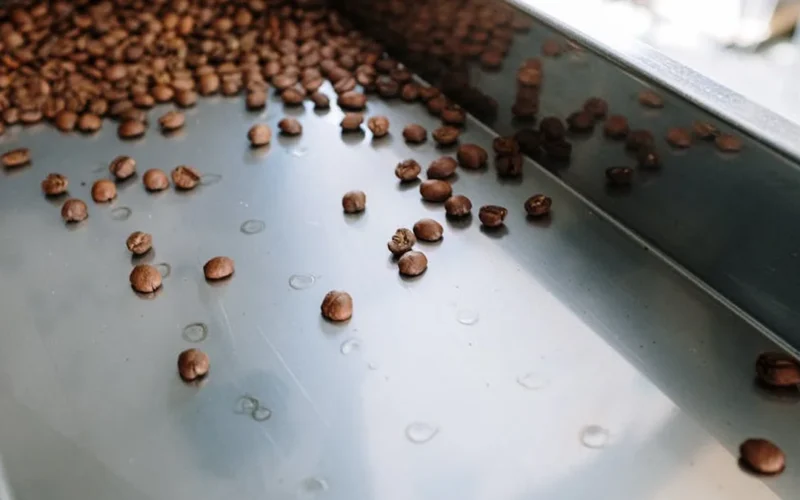
Real talk: If you’re roasting on a Gene Cafe, you’ve likely encountered the challenge of measuring exhaust temperature without direct feedback. The absence of a dashboard or readouts turns temperature monitoring into an interpretive process, reliant on time, sound, and smell. This lack of precision has driven a quiet but urgent search for reliable thermocouple setups, not for their specs, but for their reliability.
The scarcity of shared setups suggests a gap in the community’s collective knowledge—everyone’s solving the same problem alone.
Probe Placement: Drilling vs. Clamping
The first hurdle is determining where to mount the probe. Drilling into the exhaust duct with an M6 screw-in probe feels like a workaround, but it often provides the most stable readings. Surface-mount clamping, while less intrusive, frequently suffers from signal noise that compromises accuracy. One user described the drilled setup as “a gamble with a 90% success rate,” while another warned that vibration from the motor could distort data. Either method demands patience and iterative testing to achieve consistent results.
Hardware Choices: MAX6675 vs. MAX31855
The debate over breakout board selection centers on temperature range—typically 180 to 250 degrees. The MAX6675 is cost-effective and simple to wire, but its analog output is prone to electromagnetic interference (EMI) from the heater and motor. The MAX31855, though more expensive, offers digital output and superior noise rejection, making it a more robust choice for exhaust monitoring. One user called the upgrade “worth it for the peace of mind,” while another dismissed it as unnecessary. The key takeaway is that shielding and software smoothing can often compensate for hardware limitations, making them more critical than raw specs.
The scarcity of shared setups suggests a gap in the community’s collective knowledge—everyone’s solving the same problem alone.
Thermocouple logging isn’t just about data—it directly influences temperature consistency, which in turn affects flavor development and equipment longevity. A reliable setup can mean the difference between a perfect roast and a missed opportunity.
So, what’s your take? Have you tackled thermocouple logging on a Gene Cafe, or are you still relying on the old-school method? We want to hear your hacks, regrets, or even your DIY setup if you’re willing to share.
Questions & Answers
How should I place a thermocouple on a Gene Cafe?
Drilling into the exhaust duct with an M6 screw-in probe offers the most stable readings, though it’s a workaround. Surface-mount clamping is less intrusive but often suffers from signal noise. One user described the drilled setup as “a gamble with a 90% success rate,” while vibration from the motor can distort data.
What are the best thermocouple hardware options for a Gene Cafe?
The MAX31855 is more robust for exhaust monitoring due to its digital output and noise rejection, while the MAX6675 is cheaper but prone to EMI. Shielding and software smoothing can often compensate for hardware limitations, making them more critical than raw specs.
Why is thermocouple logging important for a Gene Cafe?
Thermocouple logging directly influences temperature consistency, which affects flavor development and equipment longevity. A reliable setup ensures stable readings, helping users avoid the guesswork of interpreting time, sound, and smell for temperature control.
Can I rely on surface-mount thermocouples for Gene Cafe exhaust?
Surface-mount clamping is less intrusive but often suffers from signal noise that compromises accuracy. One user warned that vibration from the motor could distort data, making it a less reliable option compared to drilled setups, which offer more stable readings.
Originally reported by Reddit Coffee Roasting.